A balloon arch is one of the most eye-catching and fun decorations you can add to any party. Whether you’re celebrating a birthday, baby shower, anniversary, or simply throwing a themed event at home, balloon arches make a bold statement, and the best part? You can make one yourself without hiring a professional.
In this step-by-step guide, you’ll learn how to create a stunning balloon arch using simple materials, creative tricks, and a little bit of patience.
Materials You’ll Need
Before getting started, gather the following supplies:
- Balloons (in 2–4 colors or sizes for variety)
- Hand pump or electric balloon inflator
- Balloon decorating strip (or fishing line)
- Balloon glue dots or double-sided tape
- Command hooks or a frame/stand
- Optional: fresh flowers, greenery, ribbons
Step-by-Step Instructions
1. Choose Your Color Theme
Pick a palette that matches your event. Popular combinations include:
- White + Gold + Blush (for weddings or showers)
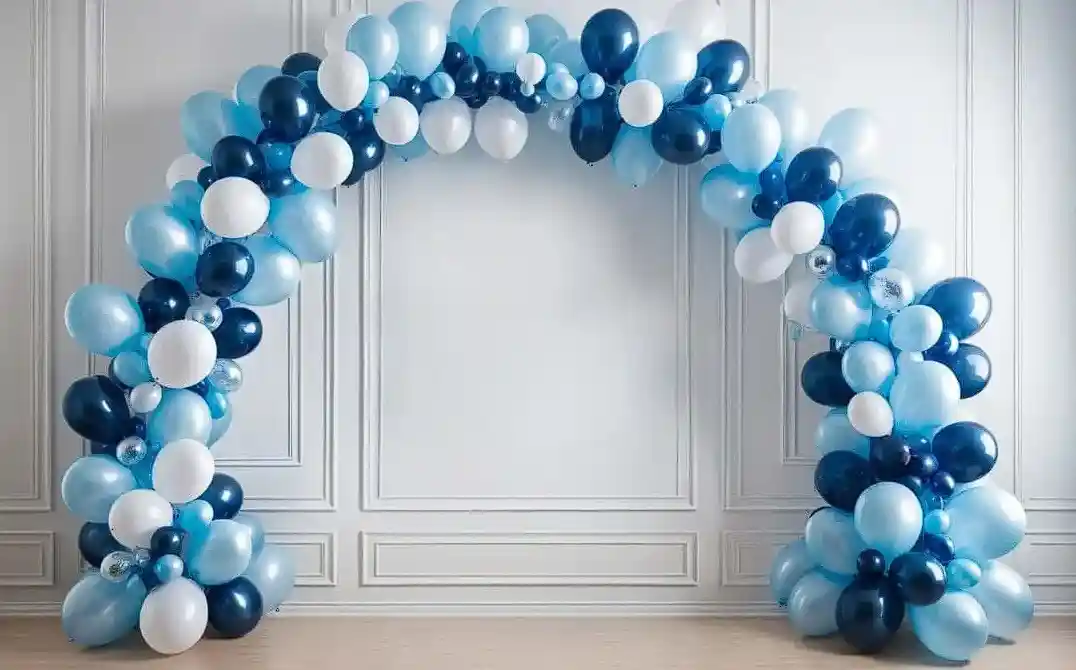
- Blue + Silver (for birthdays or baby boys)
- Rainbow mix (for kids’ parties)
Mixing matte and metallic balloons adds texture and depth to your arch.
2. Inflate the Balloons
Use a balloon pump to save your lungs! Inflate balloons to slightly different sizes — variation makes the arch look more natural and organic. Tie balloons in pairs, then twist pairs together to form quads (groups of 4).
3. Build the Base
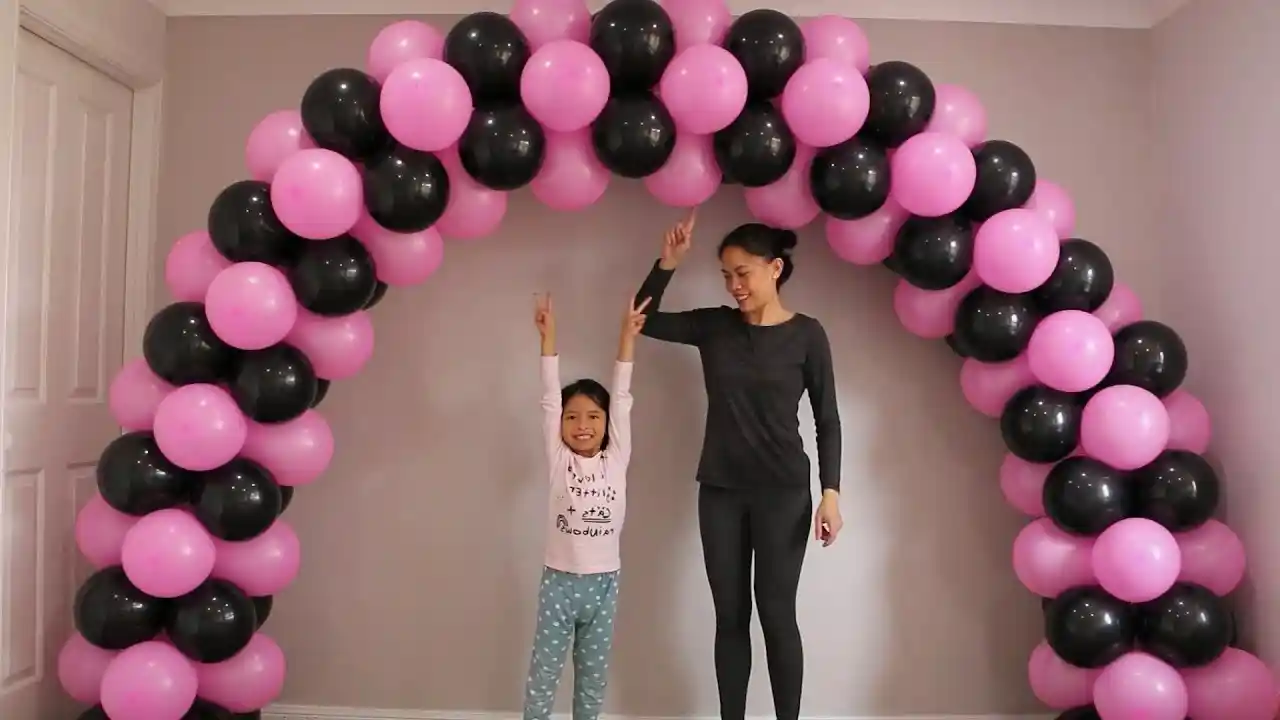
Attach balloon quads to the decorating strip or fishing line. Slide the knots into the holes of the strip, spacing them tightly. Continue until you reach your desired arch length.
Secure both ends with hooks or tie to furniture. You can bend the strip into an arch shape or let it drape organically.
4. Fill Gaps and Add Detail
Use smaller balloons and glue dots to fill in any gaps. Add greenery, paper fans, mini balloons, or even LED lights for extra flair.
At this point, your arch is nearly ready to impress your guests — and you didn’t need a decorator! If you’re still gathering supplies, you can find everything you need from a local balloon shop in Dubai that delivers right to your door in Dubai.
Tips for a Professional Look
- Vary balloon sizes throughout the arch for a more dynamic look.
- Don’t over-inflate — balloons look better slightly underfilled and are less likely to pop.
- For outdoor setups, avoid direct sunlight or build it indoors and move it out just before the event.
A balloon arch works well as a photo booth backdrop, entrance frame, or dessert table decoration — use it creatively!
Add Helium for an Extra Touch
If you want part of your display to float (e.g., balloons framing the arch or hovering nearby), consider mixing in helium balloons. This adds dimension and movement to your setup. You can easily find a wide selection of helium balloons for any occasion — from numbers and letters to themed shapes and colors.
Final Thoughts
Creating your own balloon arch at home is easier than it seems — and a lot of fun too! With a few tools and a bit of time, you can build an Instagram-worthy decoration that makes any celebration extra special.
Whether you’re planning a last-minute party or want to experiment with DIY decor, a balloon arch is a great place to start. You’ll save money, impress your guests, and get a result that’s both personal and picture-perfect.